[Revell] '70 Plymouth AAR 'Cuda - WIP


Komentáře
51 2 November 2025, 12:35
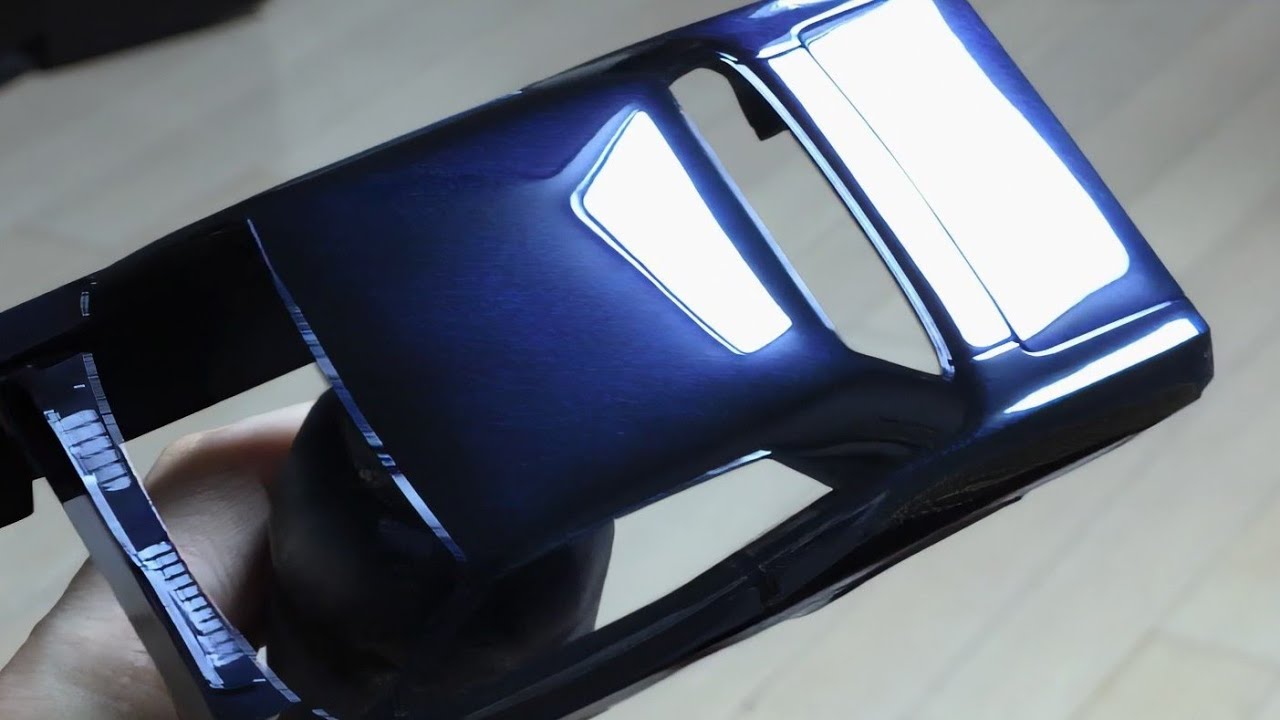
Clear black over blue looks very good! I've done clear blue over black on a project myself, that also gives a nice effect. Sadly the Tamiya TS paints I used made for a a bit of a purplish hue instead of blue🤷
16 November 2025, 15:56
You are definitely a better modeler than me. I have/would never attempt to make working steering. Though you described on photos well enough, I my attempt it some day.
1 17 November 2025, 02:56
The body color turned out as very nice and very well done. I cannot resist to mention again Audi midnight blue. I like your work very much and find it inspiring.
1 29 November 2025, 19:47
There is meticulous, then there is this ! Model engineering on an entirely different level !
3 December 2025, 18:15
What you did with the colour is pure art. Actually most of this build is...
4 December 2025, 00:55
You turned this pathetic green plastic into a great model. The color choice is fantastic - giving this brute just that wee bit of elegance. I really do like too how you tackle arising problems. I learn quite a bit from following your builds. Keep it up.
3 4 December 2025, 06:56
Thanks Michael and mates.
I often run into problems while making things, and your encouragement is a great help whenever that happens. 😉
1 4 December 2025, 08:00
Awesome result! The last two pictures looking great. Respect. Thank you for taking me with you.
4 December 2025, 09:40
Album info
motorart.tistory.com/
Polished clip - Youtube Video
Modified steering - Youtube Video