

1936 Mercedes 540K Maharaja Sport Roadster


Comentarios
64 20 October 2024, 09:57
The kit shows its age. I hope, with a bit of work will turnout alright.
20 October 2024, 17:00
Will be keeping eye out for updates.
The messy glue tubes, the Beriev lm building came with a little pot of glue that you Peirce with pin on one side 🤣
Long dried up.... I did use it back when l was a kid....lots of sticky thumb prints.
Nice project 👍
23 October 2024, 18:23
Gentlemen, thank you all for your kind remarks. I have been chipping away slowly. The part count of the kit is not that high, but the version I chose as well as the paint scheme results in a lot of challenges to my skill level which I thoroughly enjoy.
6 November 2024, 18:55
Hi Villiers 👋
Your doing a good job...it looking really good 👍
Nice kit... who is the manufacturer??
6 November 2024, 21:14
👍 Thanks Villiers ...l like to look different manufacturers up n see there range 👍
7 November 2024, 13:53
Heading towards being a nice model this one, like the engine and interior work.
Good little kit 👌👍
8 November 2024, 16:59
Thank you Mr. D for your comments. The kit certainly shows its age. I remain a sucker for the larger scale classic cars.
12 November 2024, 03:02
Oh, This manufacturer I've never heard before.
I don't think it will be easy. 👍
24 November 2024, 11:32
I have experienced several paint disasters. Enamel paint kept on forming scales. In the end I had to strip the paint back several times to the primer level. Progress should be quicker from here on.
21 December 2024, 14:48
Hi Villiers 👋
Glad your getting on track a bit now, do you think the plastic reached with the paint ?
Nice to see it taking shape 👍👍
21 December 2024, 19:45
Hello Mr D
I started off with a primer, Mr. Surfacer 1500 thinned down with Mr. Color Leveling Thinner which came out just fine.
I believe that the paint layers were perhaps too thick working with enamels. I believe that I should do thin layers (well thinned) stretched over more than one day.
22 December 2024, 19:41
Annoying when the hard work is undone! ... Just have to pull it back ....and you done that, hopefully be good going forward 👍
I only use water based acrylics, Humbrol and Deluxe gloss dried nice n hard after few days, some of the other brands are bits soft!!
I've had to many dramas with Enamel 🤣 but l expected it's a better option for a car ?
I mainly use Vallejo, AK and recently been using the new ICM paints (very impressed 👍)
Did you have to do some Chrome n conducive paint striping on this one ?
👍👍
23 December 2024, 00:30
@Lorraine ...yes and the glue had a habit of going everywhere but on the model 🫣🤣
Looking nice Villiers 👍 taking shape now,l ike the leather tone of the leather seats 👌
1 19 January 2025, 13:01
Your car is really taking shape, love colors you have chosen. As for the tube glue, i remember as kid thinking that getting a model kit with supplied glue was great until you open it. (That was the first mistake)
2 19 January 2025, 14:23
Getting Leather to look right is not easy " But you more than succeed on the door cards"
Doing some nice work 👍👍
1 25 February 2025, 16:41
The Mercedes is on its own wheels at last. I am now tackling the light clusters.
15 March 2025, 16:32
Thanks for documenting the surfacer process. Looking very nice too!
1 15 March 2025, 16:35
Looking great Villiers 👍
The Tire's look very original and radiator grill turned out very good.
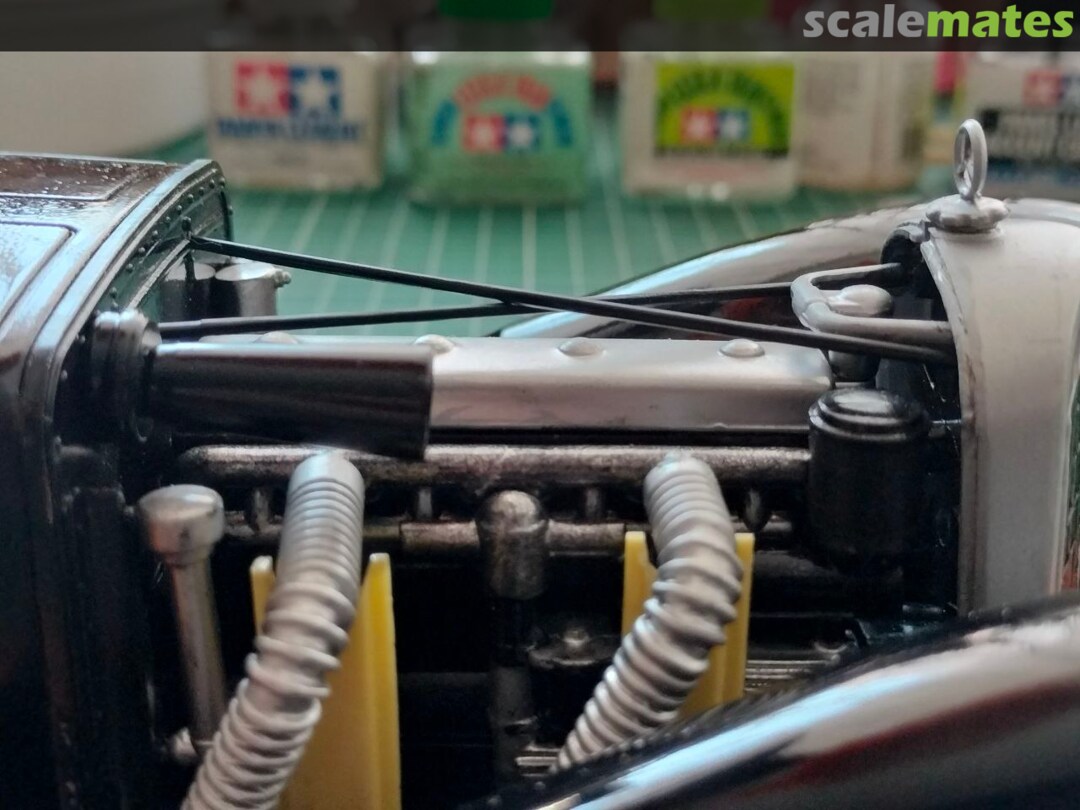
How do you get on for the Hood/bonnet hinge??
Nice work 👏
15 March 2025, 18:47
Thank you Jennifer and Mr D.
Mr D, it is a real hinge supplied with the model. See photo 36.
1 15 March 2025, 19:20
I love the egg carton idea! Absolutely ingeniously!
Great work on the model too.
1 2 April 2025, 12:24
Gentlemen, thank you for your kind comments.
I hope to stick a fork in this project by the end of this weekend.
1 2 April 2025, 13:47
Amazing step by step process! I love your technique for painting / reducing the fine detailed caps - absolutely brilliant!
1 15 April 2025, 18:56
The caps worked out beautifully; I will have to remember your technique.
2 19 April 2025, 14:18
This project has been completed. Thank you for everyone's kind comments and for those stopping by.
1 1 May 2025, 20:43
Well done Villiers 👏 the hard work has paid off 👍 Quality example of model Art.
Top Job .... enjoyed following 😃👍
1 1 May 2025, 21:39


