

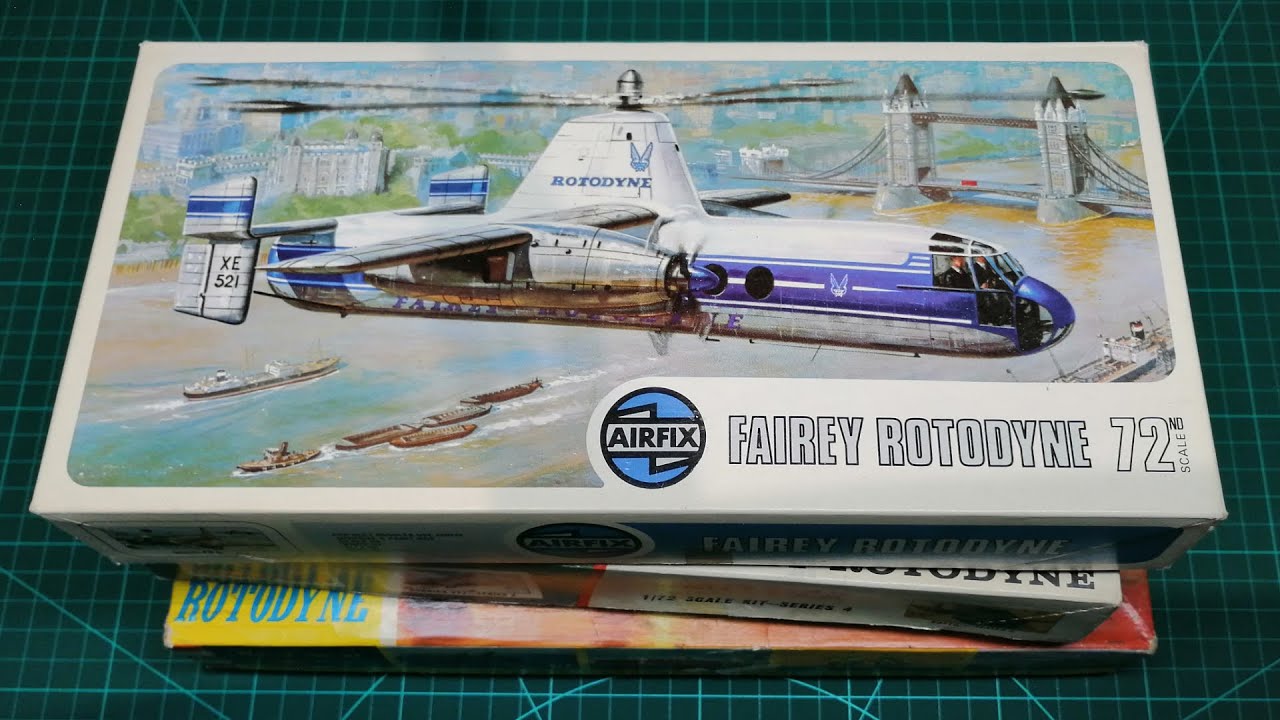
Fairey Rotodyne Prototype


Commentaires
65 19 April, 17:19
There's a short time-lapse starting the Rotodyne build gallery showing what's happened over the last few days: the cockpit interior has been 'detailed', guided by the following motto: 'anything that looks better afterwards than it did before is a success'. That's not difficult given the specifications Airfix provides from the depths of the 1960s; I raided my box of spare photo-etched parts and put together something that, well, comes close to the reference photos. No claim to 100% authenticity! Especially as I already know that later on, very little will actually be visible behind the plexiglass, so a plausible interpretation is better than... nothing at all.
Now for a bit of sanding...
19 April, 17:26
Have you seen Greg's video on this kit. He did a great job with it.
Youtube Video
19 April, 17:52
Thank you Skyhiker, Ben and Nicolas!
It's actually amazing what Greg has done with this kit – he's achieved something brilliant! Thanks for the link, Skyhiker!
I'm going to tweak the theme a bit and turn my model into the unpainted prototype. Among other things, this means that the fixed undercarriage will be reinforced with two solid struts extending from the fuselage – which, admittedly, won't add to the aesthetics – but the entire Rotodyne will be allowed to gleam in glossy NMF, which should suit it very well....
20 April, 12:32
Thank you both! Right now, I'm carving out the Rotodyne shapes from the layers of putty; it might take a little while, but it should turn out well.
1 24 April, 09:21
Here are some photos of the Rotodyne, which has been prepared for painting: it took quite a bit of filler and a lot of sandpaper to get it to this stage 🙂 Now it's being sanded down one last time with 2000-grit paper, and then a glossy black coat will be applied as a base for the Alclad aluminium!
1 30 April, 05:51
Roland you are doing a great job with this difficult kit. Did you notice that strange rippling on the side of the prototype in the original photos? I wonder what that is? Will you be putting the rivets back on at a later stage or leave them off?
30 April, 06:11
I'm delighted by your interest and your feedback! I think the dark, striped distortions on the fuselage that you can see in flight are caused by the metal of the fuselage skin buckling under stress... that's how I would have interpreted it, anyway.
I'm trying to subtly hint at the rivets where I've had to sand them away completely. However, I need to deepen these lines where the original surface has raised textures. Well, we'll see...
1 30 April, 17:31
"Sir... Sir... You're submarine thinks it's an aircraft... Or the other way around" Very interesting subject being built excellently!!
1 1 May, 08:50
Yes, identity crises and 'fluid' orientations everywhere you look 🙂 Thank you for the kind words!
1 1 May, 17:34
Alclad, Act One: glossy metallic finishes reveal every imperfection – and there are, of course, plenty of them! Four photos showing the filling and sanding preparations for the second coat.
1 May, 17:37
I'd like to show you a few photos from this morning: I've finished the NMF surfaces to the best of my ability. A new addition is the measuring probe in the lower left-hand corner of the bow, which isn't clearly visible yet but which I spotted in the original photos. To create it, I glued a wire rod into a hole; I still need to thicken the rear section a little. Now it's time for the decals. Two of them, no less 🙂
2 4 May, 10:22
Slowly and rather bumpily, the end of this ultimately rather laborious project is coming into view. If there's one thing I can be proud of with this result, it's the many additions that have been scratch-built from scratch to match the real thing, such as the entire undercarriage, most of the tyres, the entire structure of the rotor head and the inner sections of the rotor blades – and quite a few other things, such as the pitot tube on the nose, and more.
The most time-consuming part, however, was improvising the strut between the fuselage and the inner wheels, which is characteristic of the prototype. Here, I carved the struts out of parts from a discarded Smer Vickers Walrus.
I will still need to make a few changes to the lower part of the rotor head and give the clear parts a thorough clean. I am still far from satisfied with this either.
10 May, 18:35
You're a wizard, Roland... it is hard to believe that the basic kit was the venerable Airfix one...
10 May, 19:34
I'm amazed at how quickly you tackled this ancient kit. Are you sure you don't have a time travel device? Nothing like experience I guess. Amazing... Just amazing!
13 May, 14:48
Thank you for your kind words! But to be honest: I've really been pushing myself lately, as I wanted to get the Rotodyne finished.
I was also driven by curiosity to see if the homemade struts would hold up. Fitting the wire pieces to the two narrow ends was manageable enough, but I was keen to see the overall effect. As I've already mentioned, quite a few parts were homemade here – and that's quite exciting because you can't predict the result exactly. Well, I'll leave it at that for now: a true-to-prototype interpretation of the prototype, whose distinctive features I've always rather liked. With these rivet-studded 'vintage' versions of the old Airfix kits, I also always find it very appealing how the recessed rivets can contribute to the impression of a 'sheet metal skin'. I hope I've managed to achieve that here.
Thank you for your motivating comments and your interest throughout this build, which has now come to an end!
13 May, 16:13
Thank you very much for your appreciated words, Gorby and Michael!
14 May, 10:50
Wow and congrats Roland! You realized a real gem out of a lump of PS.
Very well done mate.
16 May, 19:20
Great work as always. The NM finish portraits the shape much better than the commercial livery. A real eyecatcher.
17 May, 07:26
Thank you, mates. Your feedback is really incredibly motivating! Ever since I saw the pictures of that smart prototype in glossy NMF, I've known that I wanted to build my Rotodyne version exactly like that, so I'm really glad you like it!
17 May, 09:20
Missed that this vehicle passed the finisheding line already. Great work!
17 May, 15:41

