

P-51D "Red Tails" Project


Comments
Looks very good so far Cuajete. I think the Tuskegee airmen are under represented in kit form, particularly in 1/48. I had to use after-market decals to do mine.
really nicely done cuajete. ¡te ha quedado estupendo!. I really like the shiny NMF, what did you use as primer and what metal colour?
Thank you very much. I used a mix of decals from Academy and Airfix kits.
For metal color I have used Lara's painting. No need thinner and previous primer. Unfortunately, is no longer manufactured.
Buen metalizado!!!!, Tengo Lara por ahí.... has usado la 'inicial' la plateada que sacó al principio o la que sacó después con varios tonos?
Thank you very much, Josu, Clifford, Spanjaard and Christian.
Josu, he utilizado la pintura Lara Aluminio (la que no está etiquetada) para la capa base y Lara Acero para algunos paneles. Unifiqué ambos tonos con Lara Aluminio en una capa fina a baja presión.
I have used the Lara Aluminum paint for the base coat and Lara Steel for some panels. I mixed both shades with Lara Aluminum in a thin layer at low pressure.
It turned out really nice. I have the Tamiya 1/48 version of it. I think I will do it after I finish the Corsair.
Thank you, Clifford. It will be a pleasure to see the assembly of this Bird Cage 🙂
Wow, turned out excellent. The metal finish looks very well done to me, and so do the exhaust stains 👍
Thank you very much for your comments, Alek.
The metal finish and exhaust stains on my P-51 can not be as good as those on your Avia C-2. 😉
Nice one, at first I thought it's an Airfix boxing. There are some flaws as you mentioned, but who doesn't make them?😉
Thanks Łukasz. Your words mean a lot to me. I will try to improve those flaws in the next models.
Beautiful Mustang man! The metal finish is fantastic. Well done!
👍 Nice job !! I have 3) 1/32 P-51s and want to do one of them as a Red Tail.
Thanks for your comments, Michael and Robert.
Robert, You will do well to do a Red Tail, because of its historical connotations and because it has a very striking painting scheme. I hope to watch it here.
Thanks a lot, Guy 🙂
It was the first time I did something like this. Unfortunately I don't have much time to practice anymore for now.
Many thanks, Mirko... Builds of your kits are very allright too 🙂👍
Sukhoi242 and Joshua, thanks for your likes 🙂 👍.
Joshua, Thanks for your words. I also believe that Tuskegee Airmen deserve a tribute for everything they were able to do despite everything they had against them. I admire their ability to excel and how they gained recognition from those who saw them as inferior to the rest.
I'm sure that you can find Tuskegee's Airfix in second hand market, like eBay😉.
Nathan, many thanks. Academy's kit has some imperfections, but it's it is very rewarding to build. If I remember correctly, I used everything from the box, except the wheels I got from Airfix, some small pieces of the spare parts box and other things from scratch build. Decals are mixed from Academy's kit and Airfix. I would like to build another Mustang D with Tamiya's kit and a different paint scheme (may be camouflaged o green).
Thanks to all for your likes 👍.
Skywalker, Your words flatter me. Thanks! 🙂
Really nice looking model Cuajete. The natrual metal finish especially looks great. You say it is 'metallized Lara'. Maybe I am thick, but I don't know what that is. Can you tell me please?
Joshua, Glad you found the Airfix Red Tails 🙂 👍
Clifford and Stefan, Thank you very much!
Neil, many thanks for your words. Lara was a Spanish metallic paint brand that stopped being manufactured a few years ago. It is a very good quality painting. Generally, no primer or glossy base is required. It is also not necessary to dilute and it covers quite well. Unfortunately now can't find in stores.
You can see the Lara's paint botle in the following photo albums:
- Pic 32: Zlín Z-XIII (single seat) Project | Album by Cuajete (1:72)
- Pic 64: Dornier Do 24 SAR Project | Album by Cuajete (1:72)
- Pics 31 and 32: OV-10A Bronco Project | Album by Cuajete (1:72)
Thanks to all for your likes 🙂
Can't believe I missed this. It's a fabulous finish in 1:72. Great stuff 👍
@Cuajete. Thank you very much for the info on Lara. Shame it's no longer around - sounds and looks wonderful. In case you need an alternative when you run out, I'm finding Gunze Supermetallics very good - but they need a primer. A glossy primer neneath gives a nice high reflective grain free finish.
Patryk and Gary, I'm glad you like it. Many thanks!
Neil, thank you so much for your advice. I have not been able to test yet the new metallic Gunzes. I hope to test soon 👍
Thanks to all for your likes! 🙂
Many thanks Daniel and Joseph!
Daniel, your words are much apreciated, my friend 🙂
Joseph, I used some parts of Airfix decals on this kit😉
Many thanks one more time, friends. Your comments are a great motivation for me!
Did not realise it was a 1:72 scale model, until I noticed the description! Brilliant.
Cheers
miniatures.wordpress.com
Instagram: @marco_a_c_preto
Wow... Many thanks for your words, my friends. Are much appreciated, but I think I don't deserve them 🙂
Just great! The amount of detail you put on such a small scale, all you 1/72ers, blows my mind!
Thank you so much, Giannis. This one just has a few little extras.
I built a Do-24 with a lot more extra details. You can see it here, 🙂
Dornier Do 24 SAR Project | Album by Cuajete (1:72)
Pietro and Michael. Thank you very much for your words. You are very kind.
@Clifford Keesler. Many thanks for your kind words. You have a very nice models!
@Bernd Grün. Thanks a lot. I'm glad you like it! 🙂
@Martin and all mates. Thanks for your likes! 👍
Lovely work in 72-scale - metal & colors providing quite a show, well done 👍🏻
Thank you so much, Slavo. Your words give me a lot of motivation.
@Eisen, thanks for your like 👍
A beautiful finish achieved on the paint job; topped up with good weathering. Its a striking looking model.
@Mr James and @Shar Dipree. Thanks a lot. Your words mean a lot to me. I am writing the whole assembly and painting process under the pics. Soon all comments will be finished.
@Jan Peters, many thanks for your like!
Added comments on all pics. Thanks for watching.
@art81 and other mates, many thanks for your likes 👍
Thank you so much, Andy. It's a pleasure to see you here, friend 🙂
@DerMattes, many thanks for your like 👍
So nice. I've seen this kit on the shelf a few times... but it's even better to see its destiny revealed!
Thank you very much, Greg. A pleasure to read these words from a master like you. Much appreciated.
The Academy kit is very nice to build. It practically does not give any problems of adjustment. If the Tintin's model series has this one, I'm sure it will work great!
I built a different boxing for this kit (I believe), but not for a Tintin project... 🙂
Lt. Johnny Cloud - Navajo Ace (P-51 Mustang) | Album by strobez (1:72)
It did go together quite easily as I recall, but there's something about the Red Tails that I just really like.
I did not remember this construction and now that I see it again I have to tell you again that you did a great and original job, Greg 👍
@Олег О and @Mart01planes, thanks for your like.
@Ctirad B, @Marco Gallmann and other mates, thx for your likes. Much appreciated 👍
Thank you very much, Ronan. I love your modeling jobs, master 🙂 👍
@Michael S, @Kyle DeHart and other mates, thanks for your likes!
Thank you Christos Gravanis and Philipp Knobel for have a look and like 👍
Many thanks for your comments and likes, mates. That's encouraging 🙂
@Vytautas and other mates, thank you very much for watching and your likes.
@CaptGPF, that is very motivating for me. Thank you so much!
@Rui Reis, thx for your like.
@Anthony Flanagan and @Rudy Poseika, thanks for watching and your likes 👍
Top job👍👍
I've been watching the process of the build .... great result 👌
@Bas Tonn and @Mr D, many thanks for your words, mates. Are much appreciated.
@Zbynek Honzik, thank you so much for your like.
Many thanks for your words and your like, @Aris Grey and @Major Oak 👍
Album info
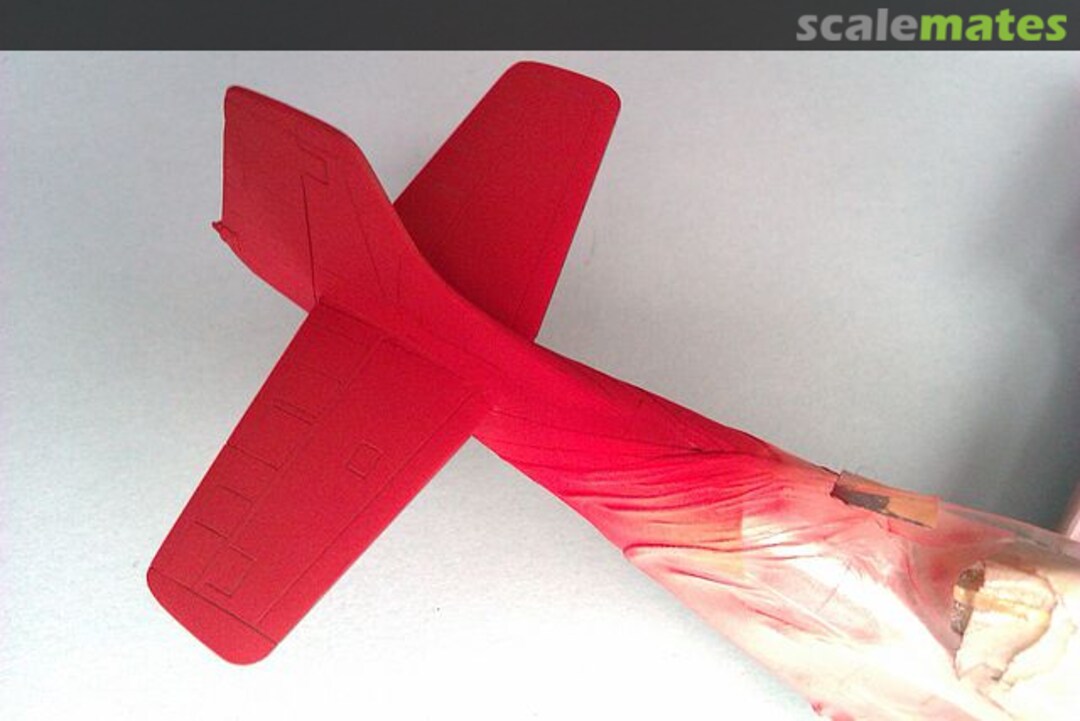
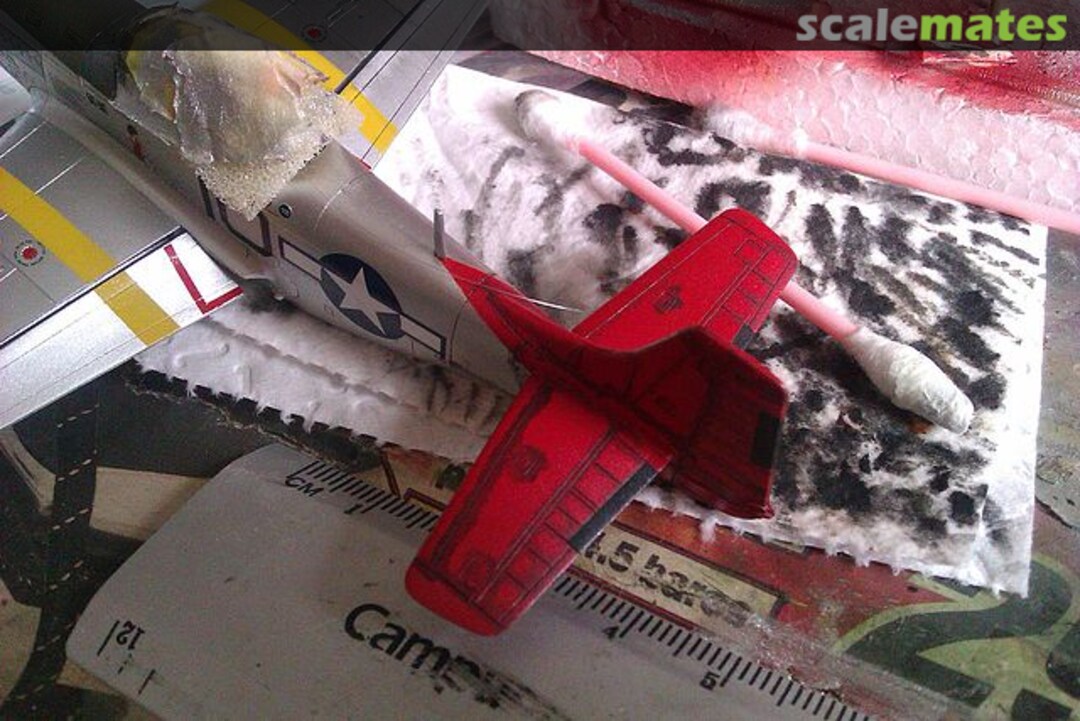
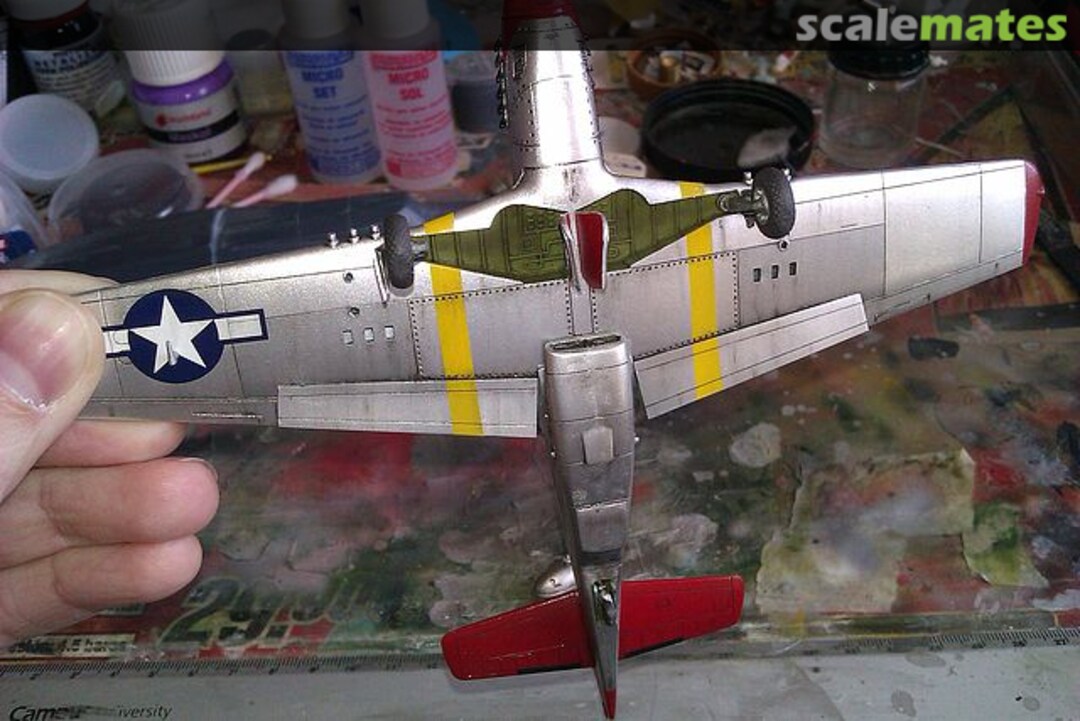
This is one of Red Tails's P-51D, specifically the "Duchess Arlene" of the 332 FG and 100th FS, numbered 10, piloted by Lt First Robert W. Williams who shot down a Me-262 of JG7 on March 24, 1945. This aircraft was based at Ramitelli's airfield (Italy), with dust track.
This is the Academy's model to 1/72, with very good fit and acceptable details, although already surpassed by the one of Tamiya and probably by the last Airfix tool.
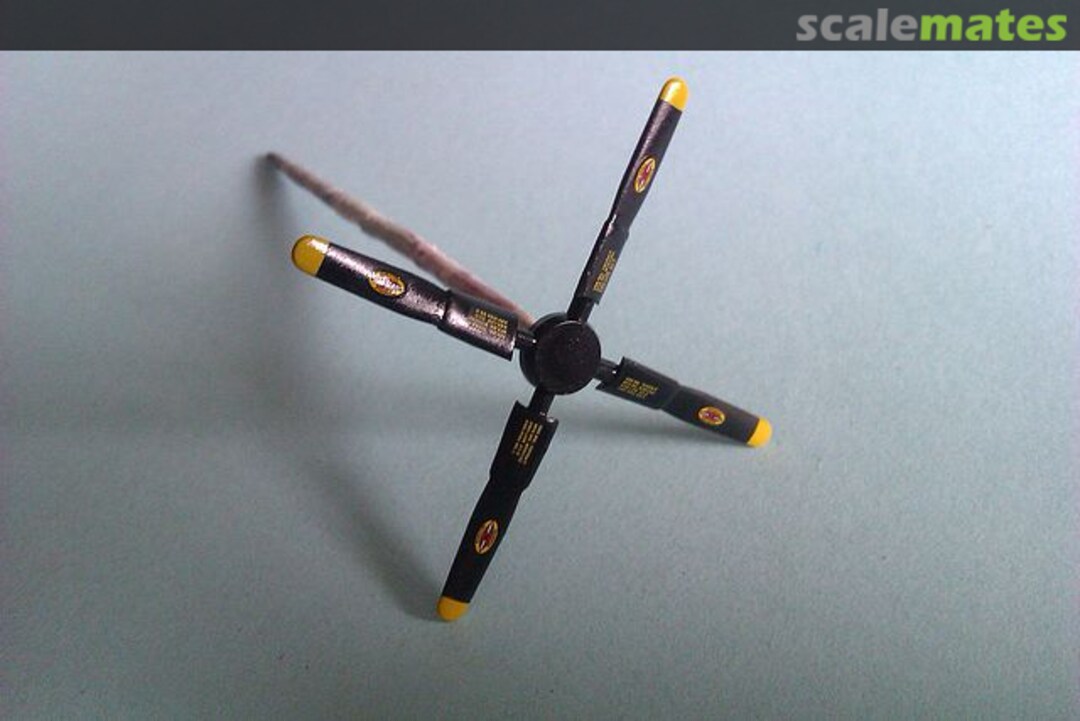
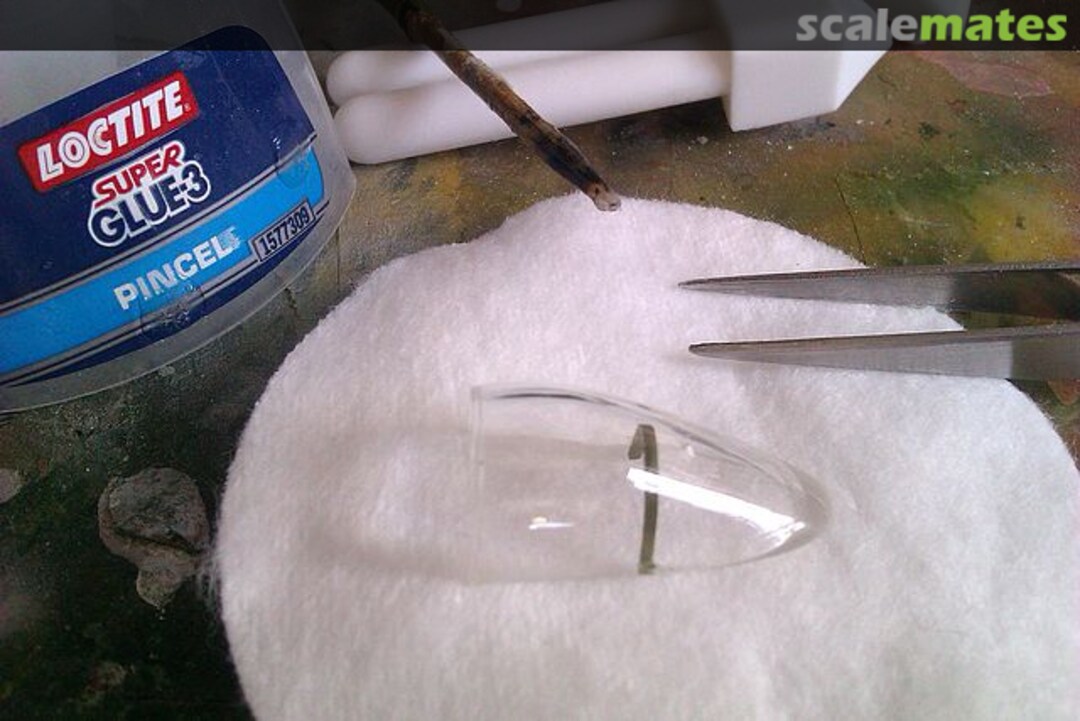
The model is out of the box, except for parts such as the wheels (from the Airfix kit) and others made from scratch (wire and some part of the undercarriage, hydraulics of the covers of the undercarriage, landing light, rear view mirror or the fuel tank connectors).
I used metallized Lara, and Humbrol 153 Insignia Red.
This is the first time that I have practiced with metal colors, pigments and some other technique. I have failed many things, like the smoke among other things, but generally I am satisfied, because despite some setbacks I have been enjoyed with the model.

