

D9 Doobi from Balaton


Comments
60 24 October 2021, 09:09
good call on those windows. they certainly look great being thicker 🙂
7 December 2021, 11:12
Neat work on cutting those bulletproof windows 👍 Definetly tagging along with this one!
8 December 2021, 13:44
Hi mates! Thanks for your interest. A dio is envisioned but first I have to proceed with the dozer a bit more.
15 December 2021, 23:20
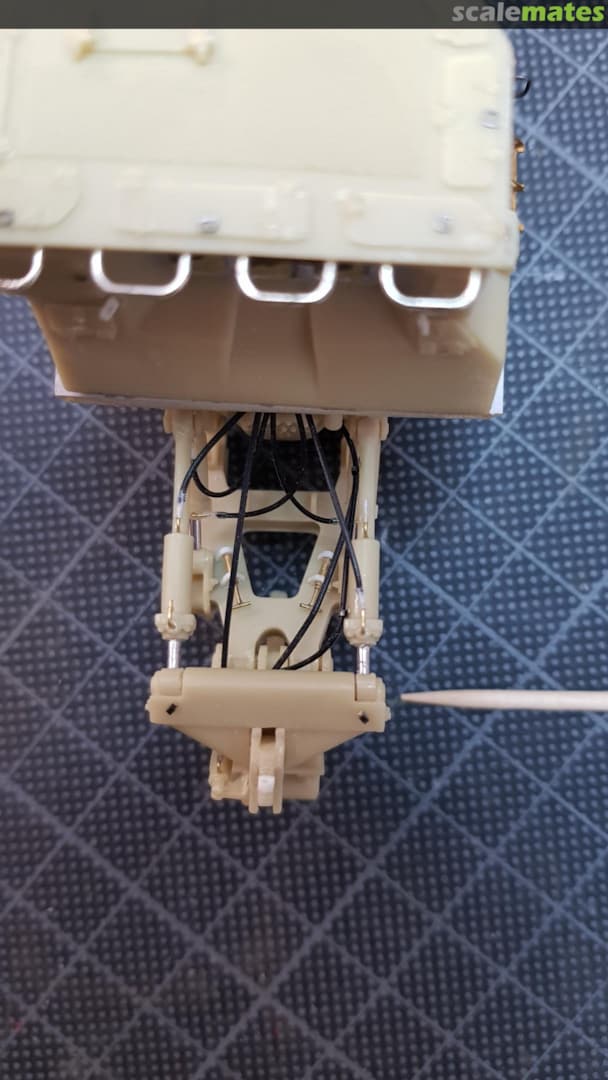
Well, some details are tiny indeed. Welcome Zsolt and MS K to my build.
22 November 2022, 11:48
Brill.Used to work on the real thing so side arms on the outside were nearly all back to bare metal as were the idlers.
22 November 2022, 17:28
Miloss, Christian and Vytautas, thanks for your stopping by and commenting so nicely and the likes.
7 January 2023, 17:38
This is world class! May I ask how you achieved the metallic look on the dozer blade?
13 January 2023, 11:34
Thanks mates for your very encouraging feedback.
@Erik: this is rather simple and straightforward: Alclad Gloss Black Primer, then sanded with 1500, 2000 and 3000 grit to a very smooth finish. Then Alclad Airframe Aluminum which sprays very very fine. Be aware that it is very aggressive too. So apply only very thin coats as thicker ones can dissove the primer again (as I learned the hard way).
13 January 2023, 13:45
Thanks Michael for explaining the process. I thought it was something like that, good to get it confirmed. 👍🏻
13 January 2023, 15:47
Thanks very much for sharing your progress, I'm learning a lot from this! What adhesive do you prefer for joining the resin parts?
7 April 2023, 04:23
Great layout for the vignette! Those cracked-concrete elements shall make some really interesting base for painting... Looking forward to the result 👍
8 April 2023, 11:46
Thanks mates for sneeking in and leaving a like or a comment. 🙂
@ Dean: for resin parts I use superglue as a standard. Nothing fancy, just a brand name from the DIY-shop. I prefer the very small tubes with only 3ml content. Of the bigger ones I have to throw away too much. For small parts I sometimes use Elmer glue as I have more time to adjust it. Hope that helps.
8 April 2023, 19:50
The D9 is ready. I started it in the fall of 2013. After almost 10 years I can hardly believe I actually finished it.
It saw considerable shelf time, but this was not the kits fault. Balaton Models did a very good job on this one and bottomline it was a joy to build. Detailling and achieving the desired paint effects were the matters that got me bogged down again and again.
I figure will accompany the vignette which is otherwiseready too. As soon as it is done, some more pics will follow.
A swell weekend to all of you.
14 April 2023, 17:45
Excellent work: lay out, detailing, paint work and weathering. Looks like a 1/35 build.
23 April 2023, 08:21
Thanks a lot Neuling. In the end I am really happy how it turned out. With the figure I followed the suggestions of my girlfriend and I think it gives a nice touch to it.
25 April 2023, 06:57


